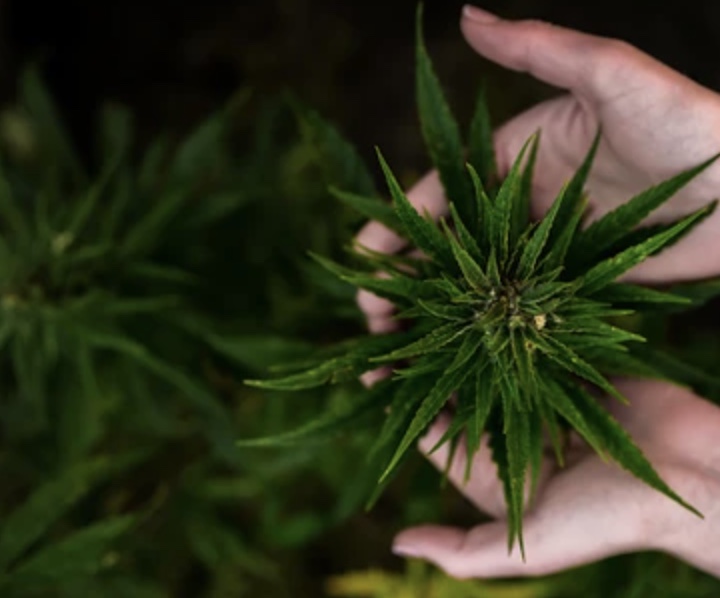
The year of 2020 probably seemed like a good time to start a new hobby. For those with a green thumb, that hobby could be starting an indoor garden. And what better thing to grow in an indoor garden than leafy green cannabis plants?
Whether you’re growing for fun, for medical reasons, or for future investment, one of the best things you can do to take some pressure off the process is to invest in indoor grow kits. An indoor grow kit is designed to give a grower all the major parts and pieces that are needed to get started, like a light, a tent, and a venting system.
You’ll still be responsible for buying all the smaller necessities, like temperature and humidity gauges, pots, soil, etc., but buying an indoor grow kit covers all the big purchases. Once you’ve got your kit, be sure to follow these tips and tricks for making the most of it.
Story Stages
Start by Focusing on the Setup
So your indoor grow kit finally arrived in the mail. You might think that this means it’s time to load up your tent with plants and get the grow op off the ground running. Well, you’re not quite ready for that stage, but you’ll be there soon enough.
Before you can start growing, you need to focus on setting up your grow tent/room. Remember, this will be the home for your crop as it makes its way from tiny seedlings to full-sized adult plants, so set it up in a way that’s convenient for both you (the grower) and them (the plants).
For setup, the first thing to consider is the available space vs your intended number of plants. Always keep the square footage in mind, and remember, while you can fit 100 seedlings into that 4×4 tent, that won’t be the case as those seedlings develop roots and get bigger.
When calculating square footage, try to allot a space of at least 1×1 for each pot, but even more than that for larger plants.
Strategically Position Your Grow Light(s)
Depending on the size of your setup, you may have 1 grow light, you may have 2, or you might have 4+. No matter the number, don’t just hang the lights wherever; figure out exactly where your light fixture needs to be hung so that the light output is evenly distributed and every plant gets the same tender-loving light.
You’ll definitely want to figure out the ideal light height, which is the measurement of inches from the top of the plant canopy to the base of the grow light. Hanging the fixture too low can create too much heat around the canopy, and depending on the type of light, it can even singe the plants and leave them with burnt stems, leaves, and buds.
There’s no official rule of thumb for how high or low the light should be from the canopy; it depends on the type of light you’ve chosen. T5 fluorescent and LED lighting can be hung closer since they don’t give off as much heat, but for HPS lights, a decent amount of space is a must. These are super powerful, both in terms of light output and heat.
Set Up Your Venting System
Even if you’re growing a handful of plants, ventilation is an important aspect of indoor growing. Unlike outdoor growing, the plants can’t rely on a steady breeze or constant supply of fresh air. That’s why you have to set up a venting system that works to vent air out of the room as well as into it.
Chances are your grow kit came with the pieces necessary for basic ventilation. The most basic ventilation includes some ducting, an intake fan, an exhaust (extractor) fan, and at least one traditional-style oscillating fan. The intake fan brings fresh air into the grow tent/room, the exhaust fan extracts old air, and the ducting is what the air travels through.
Oscillating fans aren’t typically included in a kit, but those are easy enough to buy on your own (chances are you already have one lying around the house). Strategically place the fan so that it blows air gently through the plant canopy, simulating the gentle breeze that plants normally get from their natural outdoor habitat.
Once you’ve got all these big steps complete, it’s time to pop your seeds (or cut your clones), load them into pots, and start growing.
