In the heart of the kitchen, the range hood plays a crucial role in maintaining air quality and ensuring a comfortable cooking environment. When issues arise, tackling range hood repair on your own can be both rewarding and cost-effective. This detailed guide will walk you through the intricacies of DIY range hood repair, providing the knowledge and confidence to revive this essential kitchen appliance.
Story Stages
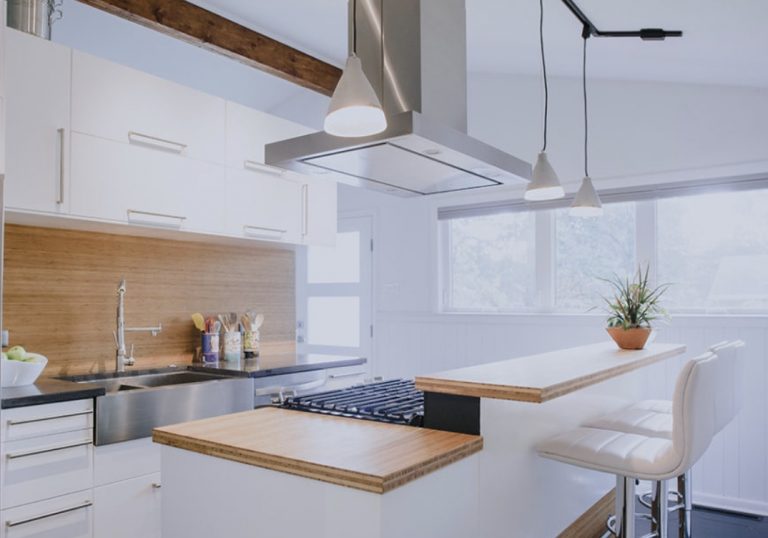
Understanding the Significance of Range Hood Repair
The range hood serves as the unsung hero of the kitchen, tirelessly removing smoke, odors, and airborne particles generated during cooking. When the hood falters, it not only compromises air quality but also hinders the overall functionality of the kitchen. Engaging in range hood repair empowers homeowners to address issues promptly and maintain a healthy cooking space.
Common Range Hood Issues and DIY Solutions
- No Power or Functionality:
- Check the power source and ensure the hood is plugged in.
- Inspect the circuit breaker for any tripped switches.
- Replace the fuse if necessary.
- Ineffective Ventilation:
- Clean or replace the filters regularly to maintain optimal airflow.
- Ensure that the vent duct is not blocked or obstructed.
- Check for leaks in the ductwork and seal if necessary.
- Unusual Noise During Operation:
- Tighten loose screws or bolts in the hood structure.
- Lubricate the fan motor bearings with a silicone-based lubricant.
- Inspect the fan blades for any obstructions and remove them if present.
- Fan Not Working:
- Check the fan switch and replace it if faulty.
- Inspect the wiring for any loose connections and tighten as needed.
- Replace the fan motor if it shows signs of wear or damage.
- Excessive Smoke or Odor Escape:
- Clean or replace the filters to ensure effective odor removal.
- Inspect the seals around the hood and replace damaged seals.
- Adjust the fan speed to a higher setting for improved ventilation.
- Faulty Lights:
- Replace the light bulbs with compatible and recommended bulbs.
- Check the wiring and switch for any issues, replacing if necessary.
- Ensure that the light cover is clean and free from obstructions.
Types of Range Hood Filters and Maintenance Tips
| Filter Type | Characteristics | Maintenance Tips |
| Mesh or Baffle Filters | Made of metal and designed to trap grease and particles. | Cleaning: Soak in a mixture of warm water and mild detergent. Scrub with a soft brush. Frequency: Clean every 2-3 months. |
| Charcoal Filters | Absorb odors and airborne particles through activated charcoal. | Replacement: Charcoal filters are not washable. Replace every 6 months or as recommended by the manufacturer. |
| Ductless Recirculating Filters | Used in ductless range hoods. Typically a combination of mesh and charcoal filters. | Cleaning: Clean mesh portions as recommended. Replace charcoal elements every 6 months. |
DIY Range Hood Repair: A Step-by-Step Guide
Note: Before starting any range hood repair, disconnect the power source and ensure that the hood is safe to work on.
- Inspect the Power Source:
- Check if the hood is plugged in properly.
- Examine the circuit breaker for any tripped switches.
- Replace a blown fuse if necessary.
- Examine the Fan:
- Test the fan switch for functionality.
- Inspect the wiring for loose connections and tighten it as needed.
- Replace the fan motor if it shows signs of wear or damage.
- Check the Lights:
- Replace light bulbs with compatible and recommended ones.
- Inspect the wiring and switch for any issues, replacing them if necessary.
- Ensure the light cover is clean and free from obstructions.
- Clean or Replace Filters:
- Follow the manufacturer’s guidelines for removing and cleaning mesh or baffle filters.
- Replace charcoal filters every 6 months, or as recommended.
- Clean or replace ductless recirculating filters as per the manufacturer’s instructions.
- Inspect Ventilation Duct:
- Ensure that the vent duct is not blocked or obstructed.
- Check for leaks in the ductwork and seal if necessary.
- Verify that the vent cap on the exterior is free from debris.
- Lubricate Moving Parts:
- Lubricate the fan motor bearings with a silicone-based lubricant.
- Tighten loose screws or bolts in the hood structure to reduce noise.
- Adjust Fan Speed:
- Increase the fan speed for better ventilation and odor removal.
- Ensure that the fan blades are free from obstructions.
- Inspect Seals:
- Check the seals around the hood for any signs of damage or wear.
- Replace damaged seals to prevent smoke or odor escape.
Tips for Preventive Range Hood Maintenance
- Regular Cleaning:
- Clean the hood and surrounding area regularly to prevent the buildup of grease and debris.
- Wipe down the exterior with a mild detergent and warm water.
- Monitor Fan Performance:
- Periodically test the fan on different speed settings to ensure optimal functionality.
- Address any unusual noises or changes in performance promptly.
- Replace Bulbs Promptly:
- Replace burnt-out bulbs promptly to maintain adequate lighting in the cooking area.
- Use bulbs with the recommended wattage.
- Follow Manufacturer Recommendations:
- Adhere to the manufacturer’s guidelines for filter cleaning and replacement.
- Consult the user manual for specific maintenance instructions.
- Inspect Wiring and Switches:
- Periodically inspect the wiring and switches for any signs of wear or damage.
- Replace damaged components to prevent electrical issues.
- Ventilation Duct Inspection:
- Schedule periodic inspections of the ventilation duct for any blockages or leaks.
- Ensure proper airflow and efficient ventilation.
- Consider Professional Inspection:
- If encountering complex issues or unsure about the repair process, seek professional inspection.
- Professional technicians can diagnose and address intricate problems.
Breathing New Life into Your Range Hood
Embarking on the journey of DIY range hood repair not only rejuvenates this essential kitchen appliance but also empowers homeowners to take charge of their kitchen environment. By following this detailed guide and incorporating additional tips, individuals can navigate the intricacies of range hood repair with confidence. Whether it’s addressing a malfunctioning fan, ineffective ventilation, or faulty lights, the realm of DIY range hood repair awaits, offering a cost-effective and satisfying approach to kitchen maintenance.