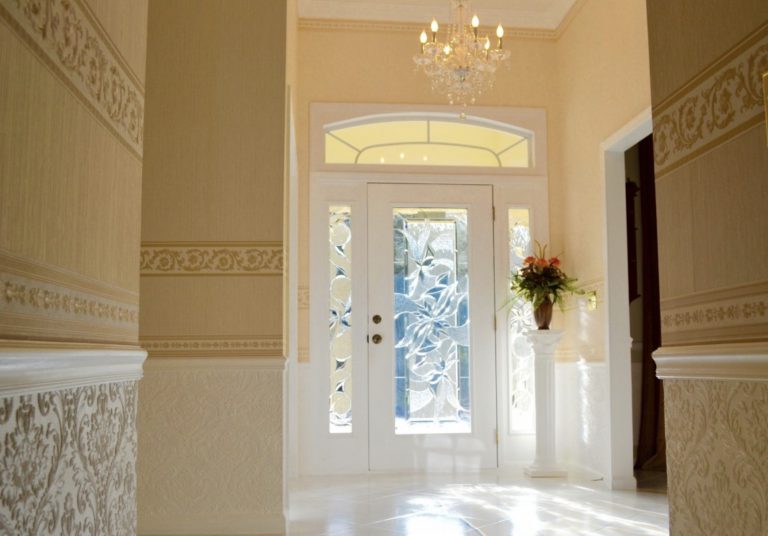
Wall mouldings can make for an elegant design addition to your home. Sometimes known as a wall trim, this term describes intricate moulds and millwork that frame or pattern a wall. They can be used to frame windows, doors, walls, floors, even ceilings — defining the architectural style of a room. Below, we explore how to install mouldings on walls.
Story Stages
The prep
The first step is to determine how much moulding you’ll need. Head over to the target wall and measure how much space you have. From there you can work out the size and number of the patterned moulds that you want to fit onto the wall. Usually, it’s best to stick with odd numbers as they look more aesthetically pleasing. Next, you simply mark on the wall with a pencil the dimensions you want. Base this off the ceiling as the floor most likely won’t be level. A green laser level is your best choice to ensure that you get a totally level surface to work with. At this point, you can buy your mouldings online and get to work!
Installing the moulding
When it comes to installing the mouldings you need to consider the type of mouldings you’ve ordered. Are they thick with lots of ridges or thing with simple details? This can give you an indication towards the type of saw you’ll need for cutting. From there you should fasten your mouldings together.
Attachment
Once your mouldings are fitted together you should put them onto the wall. You’ll need to nail them in place before using wood putty to fill in the gaps that this creates. Alternatively you can glue them in place, but in either scenario you should stick to the pencilled guidelines you’ve created.
Prime and paint and filling in the gaps
Once everything is in place, you should prime and paint your mouldings to give them the perfect finish. If you want to paint it smoothly, you should caulk the wood to remove any abrasive edges. This can be arduous, but it removes any gaps between the mouldings and the wall. Next you need to apply primer so that the wood isn’t visible behind the paint. When it comes to painting, just ensure you pick a colour that’s either identical to your wall, or a colour that complements it neatly.
Wall mouldings can liven up any room and form the heart of your interior design. Plus, they can be a fun DIY project. By ordering the right pieces, carrying out the prep carefully and installing them with precision you can give any wall a sophisticated look.