If you’re reading this, chances are you already know how to apply lash extensions, but you’re looking for those secret tips on how to make them look professionally done. You’re not alone. DIY lash extensions have exploded in popularity recently, and for a good reason: who doesn’t want stunning lashes without the hefty salon price tag?
Plus, there’s a sense of accomplishment and pride that comes from mastering a beauty technique yourself.
However, with so much info out there, it’s too much work to sift through all the advice and tutorials. Not anymore; explore the ways to have eyelash extensions at home here. We’ll share tips straight from the pros on how to achieve those professional-quality lash extensions right in the comfort of your home.
Let’s get started:
Story Stages
Tip 1: Clean Your Natural Lashes Thoroughly
Before starting the application process, let’s talk about the foundation: your natural lashes.
Clean, oil-free lashes ensure your lash extensions adhere properly and last longer. Any residue or dirt on your natural lashes can interfere with the glue, resulting in weaker bonds and shorter-lasting extensions.
To get your natural lashes squeaky clean, use an oil-free makeup remover to gently wipe away any mascara or makeup. Next, grab a gentle, oil-free cleanser (a foaming one works great) and gently wash your eyelids and lash line. Rinse thoroughly, and make sure your lashes are completely dry before proceeding.
You can also use a lint-free applicator soaked in lash primer or saline solution to remove any remaining residue.
Tip 2: Select the Right Lash Extensions
Lash extensions come in various lengths, thicknesses, and curls, so you must pick the ones that suit your preferences and natural lash characteristics.
First, consider the length. Extensions range from 6mm to 18mm. For a natural look, choose a length that’s slightly longer than your natural lashes. If you want to go bold and dramatic, go for longer extensions.
Next up is thickness. Lash extensions come in diameters from 0.03mm to 0.20mm. Thinner extensions are lighter and better suited for those with fine or weak natural lashes, while thicker extensions create a more dramatic effect. Remember that very thick lashes might weigh down your natural lashes, so choose wisely.
Finally, let’s talk about curls. The most common curls are J, B, C, and D. J curl is the least curly and gives a subtle lift, while the D curl is the most dramatic and curved. B and C curls fall somewhere in between, with C curls being the most popular choice for a natural but noticeable lift.
Tip 3: Use a Primer to Enhance Adhesion
A little-known secret among lash professionals is the use of a lash primer before applying extensions. Primer serves two main purposes: it removes the residue on your natural lashes and enhances the bond between the extensions and your lashes.
To use a primer, simply soak a lint-free applicator or microfiber brush in the primer solution and gently brush it along your natural lashes from the base to the tips. Cover every lash, but don’t drench them in the solution, then give them a few seconds to air-dry before moving on to the next step.
When choosing a primer, look for one specifically formulated for lash extensions. Some primers even contain nourishing ingredients like vitamins and botanical extracts, promoting healthier, stronger natural lashes.
Tip 4: Use the Right Amount of Adhesive
Getting the perfect amount of adhesive on your lash extensions is both an art and a science. Very little glue won’t provide a strong enough bond and may cause your extensions to fall off prematurely. On the other hand, too much glue will result in clumpy, unnatural-looking lashes and may even damage your natural lashes.
To get the right amount of adhesive, start by squeezing a small drop of glue onto a jade stone or a disposable glue palette. This helps control the amount you’re using and keeps the glue fresh. Dip the base of the extension (about 2mm) into the glue, and make sure it’s evenly coated. Then, gently swipe the extension against the edge of the palette or stone to remove any excess glue. The aim is to get a thin, even layer of adhesive that coats the base without causing the lashes to stick together.
Remember that lash adhesive dries fast, so you’ll need to work quickly. Replace the glue on your palette every 20-30 minutes so that it remains fresh and provides the best bond possible.
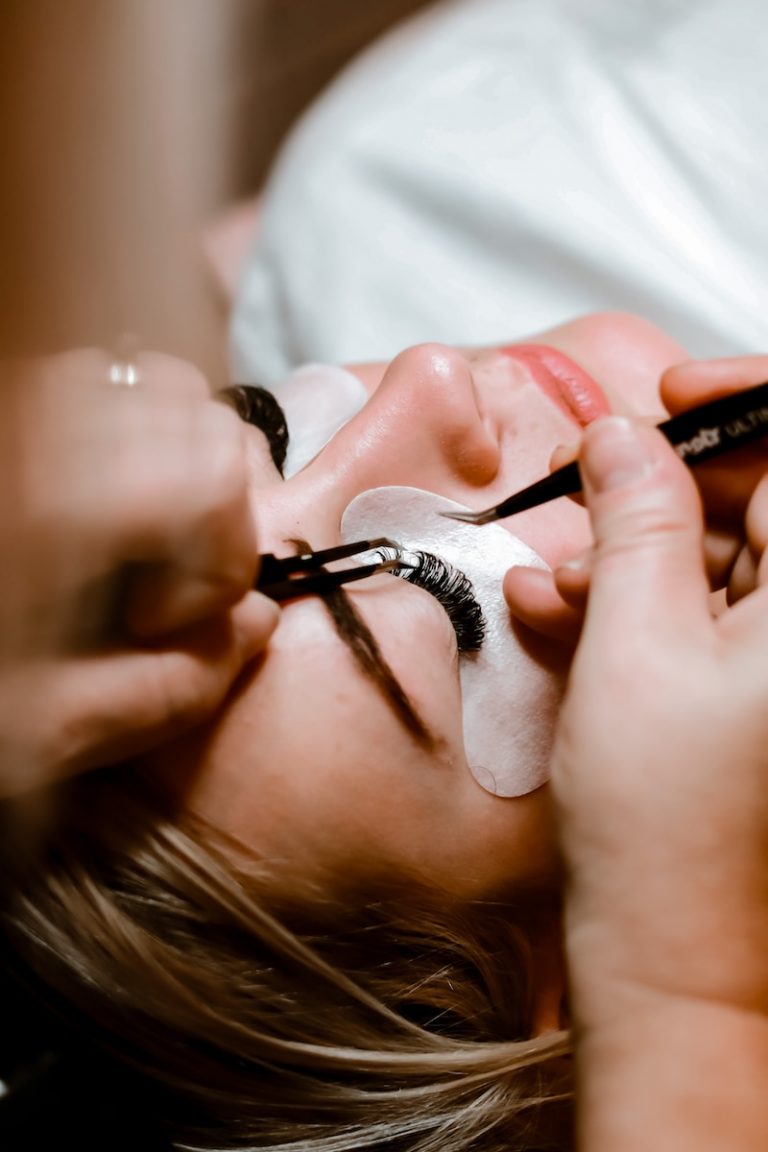
Tip 5: Properly Isolate the Natural Lashes
One of the keys to achieving professional-quality lash extensions at home is properly isolating your natural lashes. Working with one natural lash at a time will create a more even, natural-looking result and reduce the risk of your extensions sticking together or causing discomfort.
Use a pair of high-quality, fine-tip tweezers to effectively isolate your natural lashes. Hold the tweezers in your non-dominant hand and use them to separate one natural lash from the rest gently.
Next, use your dominant hand to pick up an extension with another pair of tweezers. Holding the extension near its base, bring it to the isolated natural lash and align it with the lash line.
This process may seem time-consuming, but it’s well worth the effort. Properly isolating your natural lashes ensures a more comfortable and longer-lasting set of extensions that mimic the work of a professional lash artist.
Tip 6: After Care is a Must
Keep in mind that lash extensions are not a one-and-done procedure, and they require a bit of upkeep and attention to detail. To ensure that your extensions stay put and look their best, here are a few simple aftercare tips:
Avoid getting your lashes wet for at least 24 hours after application to ensure a strong bond between your natural lashes and the extensions. Water, steam, and sweat can weaken the glue, causing your extensions to fall out prematurely.
Be careful when washing your face, and avoid rubbing or pulling on your lashes. Use a gentle cleanser and a soft cloth or cotton pad to remove makeup around the eye area, and avoid using oil-based products.
Avoid touching or rubbing your eyes, as this can cause your extensions to become tangled or fall out. Also, try to sleep on your back to avoid smashing your lashes into your pillow.
Finally, use a lash serum to nourish and strengthen your natural lashes.
So there you have it! Six pro tips on how to achieve professional-quality lash extensions at home!